Availability
Subscription: PartnerBoost or EmployeeBoost
Overview
This tutorial explains how to setup a 2 way sync between StudioCloud and Google Calendar. Using this feature you can create an appointment in StudioCloud or in any Google Calendar solution and have it sync between the two systems.
StudioCloud PartnerBoost or EmployeeBoost User Limitation
- 2-Way Syncing is limited to 1 google calendar sync per StudioCloud PartnerBooost or EmployeeBoost user.
Limitations
- Recurring (repeat) events are not synced from Google Calendar to StudioCloud.
How It Works
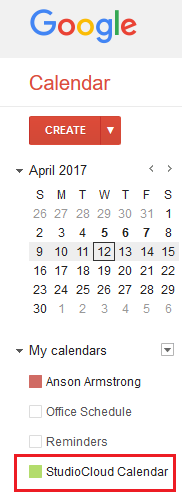
When you setup Google Calendar syncing it will automatically create a new calendar in Google Calendar named StudioCloud Calendar. Events that are in StudioCloud will be synced to the calendar named StudioCloud Calendar and only events that are added to StudioCloud Calendar in your Google Calendar account will be synced back to StudioCloud. If events are added to a different calendar then they will not be synced. The screenshot below demonstrates where you can see the StudioCloud Calendar.
Initial Sync Process
In the initial sync process StudioCloud syncs events starting 1 week before the current time and ending 10 years in the future. After the initial sync is complete then any modified events from any time period will automatically be synced between StudioCloud and Google Calendars. This means that if you edit an event in StudioCloud, regardless of when it was created, then it will automatically sync with Google Calendar and vice-versa.
Synced Details
The following fields are synced between StudioCloud and Google Calendars:
- Date and times of event
- Name of event
- Location Address
- Event Notes
Scheduling Customers and Employees From Google Calendar
Google calendar only supports entering an email address for the attendees. As such, StudioCloud does the following steps when trying to match up attendees in Google Calendar with Employees and Clients in StudioCloud.
- StudioCloud checks to see if the email address matches an employee.
- If it doesn't StudioCloud then checks to see if the email address matches a client
- If it doesn't StudioCloud automatically creates a new client with the email address being the first name and the last name being "Unknown"
How to Setup Google Calendar Syncing
The instructions below explain how to setup Google Calendar syncing with StudioCloud. This step would need to be done once for each StudioCloud user.
- Click on the Calendar component
- Select the Settings tab
- Click the button labeled Setup Google Calendar Sync
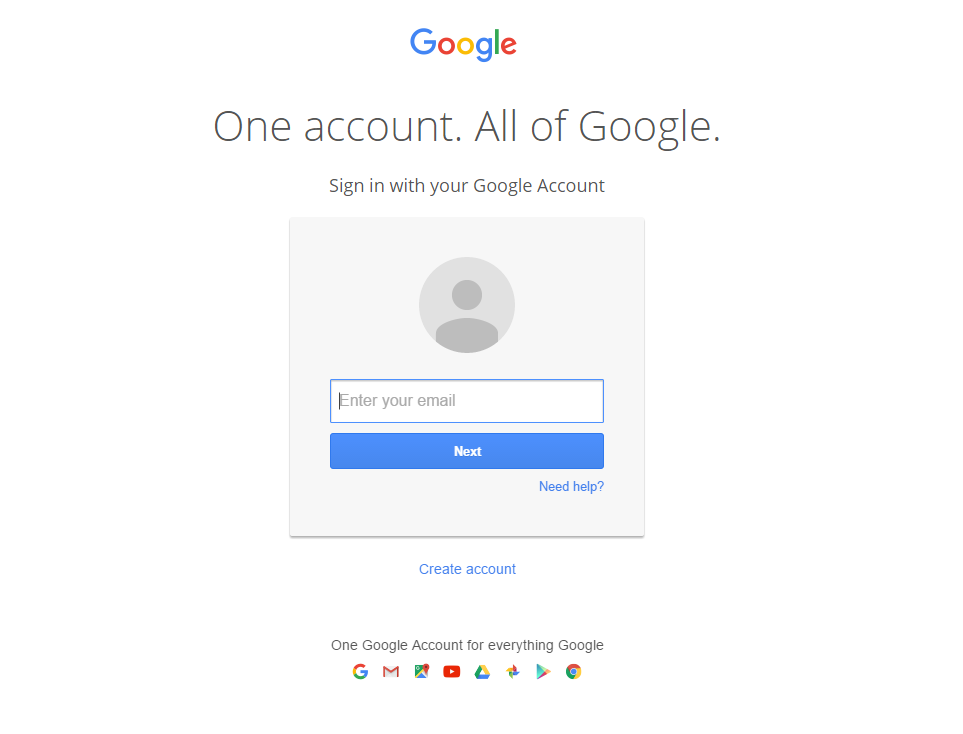
- In the browser that opens up enter your Google Calendar username and then your password
- If you are already logged in to your Google account in your browser then you may skip this step
- Click the Allow button to give permission to StudioCloud to access your Google Calendar
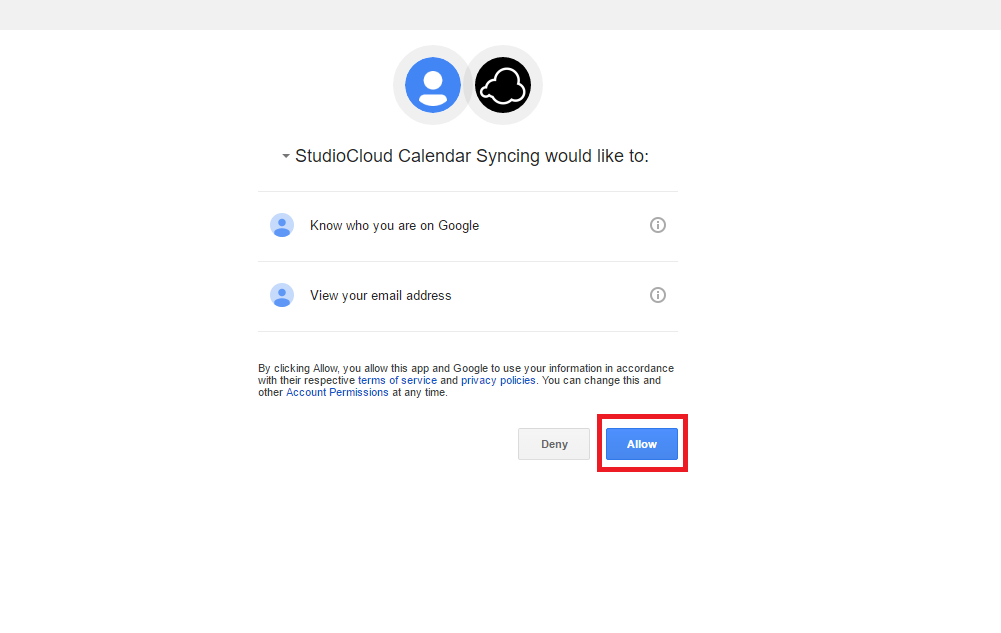
- Once you have completed this you will be given the following message in your browser. StudioCloud will also automatically create a new calendar in your Google Calendar named StudioCloud Calendar. Then StudioCloud will begin syncing your data from StudioCloud to Google Calendar.

How to Revoke Access to Google Calendar for StudioCloud
If you would like to discontinue using the Google Calendar syncing with StudioCloud you will need to follow the steps below.
Please make sure you do Step 1 and Step 2 otherwise you can get duplicate calendar appointments
- Step 1: Revoke Access In Google Calendar
- Open your web browser and go to https://security.google.com/settings/security/permissions
- If you are not logged into your Google account yet then you will be required to do that next
- Find StudioCloud in the list of Apps connected to your account. It should look something like the image below

- Click on the StudioCloud icon to reveal more details about the app
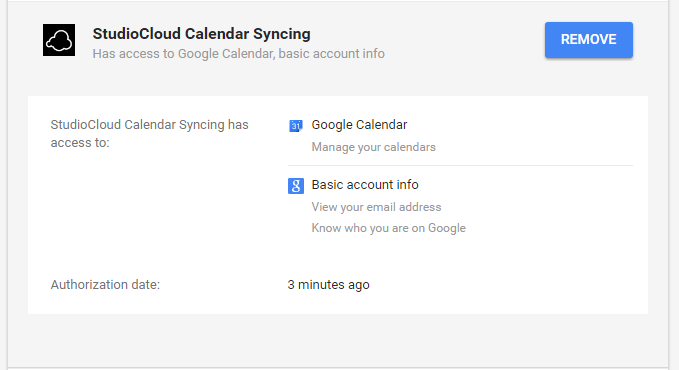
- Click the Remove button
- Once StudioCloud detects that it doesn't have access to your account you will receive an email with a link to setup 2-Way Google Calendar Sync again which you can ignore if you no longer want to use this feature.
- Step 2: Delete StudioCloud Calendar In Google Calendar
- The StudioCloud calendar called "StudioCloud Calendar" that was automatically created for you in Google Calendar will still be available for you in your google calendar. You will need to manually delete this using the instructions here https://support.google.com/calendar/answer/37188 under the heading Remove a calendar from your list permanently
- Warning: If you do not delete the google calendar and you resetup the google calendar it will create duplicates in StudioCloud and in Google Calendar
Troubleshooting
On occasion a member of our team may determine that we need to see the StudioCloud Calendar that is created in your Google Calendar account. When that is the case please use the instructions in the Google Support document https://support.google.com/calendar/answer/37082?hl=en to share the calendar with a member of our team. The member of our team that asks you to do this will provide you with an email address to share it with. The step-by-step instructions are provided below
- Go to your Google Calendar account
- On the left hand side of the screen find My Calendar (you may need to click an arrow to expand it)
- Find the StudioCloud Calendar and click the down arrow next to it
- Click the Share this Calendar option
- Under the Share with specific people option enter the email address provided to you by our team member
- Click Add Person
- Click Save
- Please let the support technician know that you have shared the calendar with them
Please note, it can take up to 12 hours before our team member is given access to your calendar.
 Categories