| |
| |
How to Customize the CloudProofing 3.0
OverviewCloudProofing by StudioCloud allows some customization of the look and feel. This support article provides instructions on what customization is available and how set it up. How to Open the CloudProofing ManagerClick here for a tutorial on how to open the CloudProofing manager How to Customize the CloudProofing 3.0- In the CloudProofing Manager click the Customize tab
Once you are on the customize tab there are a variety of options available.
- Purchase Email Notification - A list of semi-colon separated email addresses that you want an email sent to when a customer purchases
- Online Proofing Background Color - The color behind the background image. This is the color that is displayed when the CloudProofing is loading. We allow you to specify this color so that you can try to match the color of your website.
- Large Logo - The logo that is displayed on the main page when your clients first arrive. *
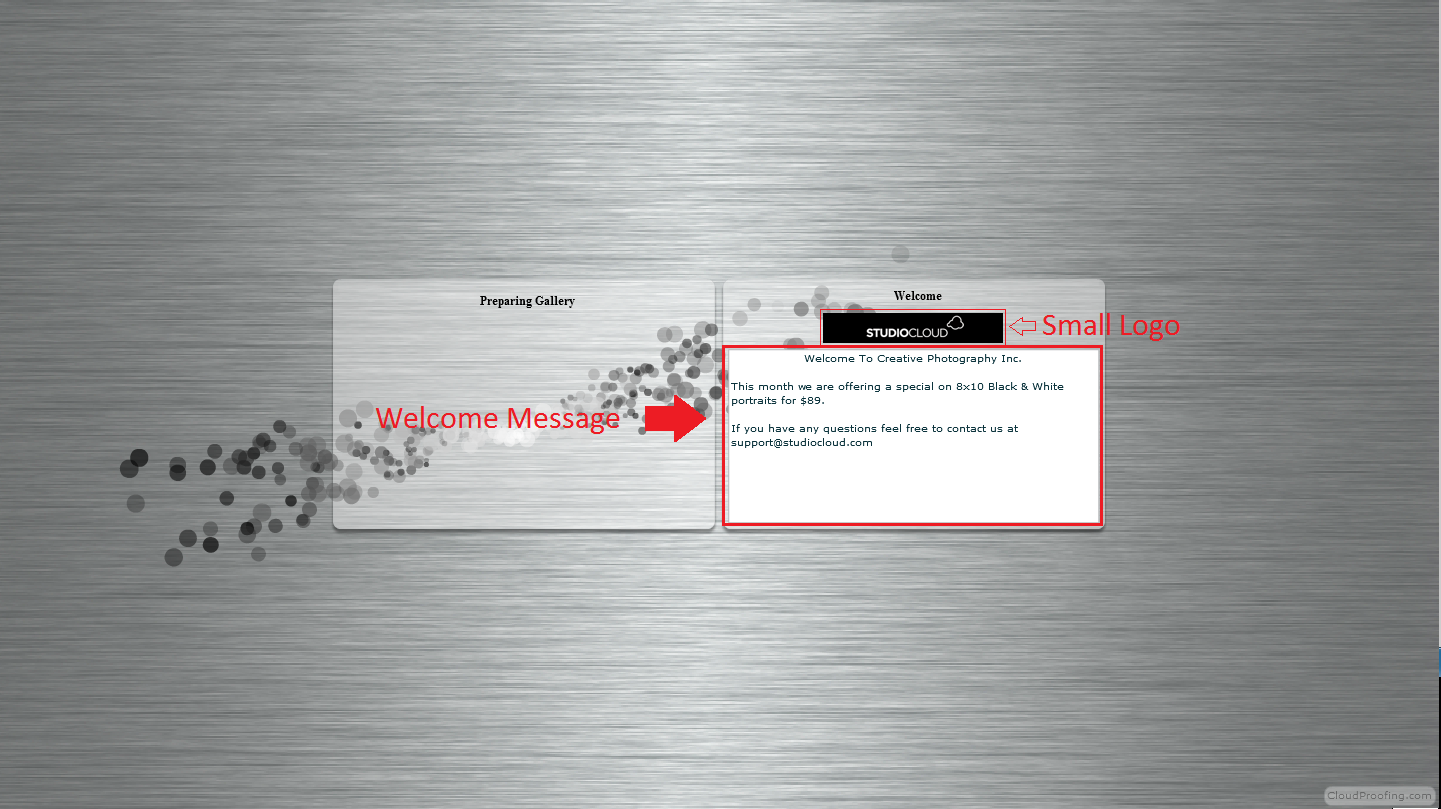
- Small Logo - The logo that is displayed on the page when a client uses a direct link to get into their album. *
- Background Image - The background image used in your CloudProofing account.
- Welcome Message - This is displayed on the main page when a client first arrives to your CloudProofing page and if they use a direct link to reach their album. *
* Sample images are provided below to help you better understand where each component is in CloudProofing. This image displays the location of the large logo and welcome message on the main screen for CloudProofing.

This image displays the location of the small logo and welcome message when a client uses a direct link to enter a CloudProofing event.
|
| |
|
 Categories